Aluminum Raspberry Pi 3 Case

USD$49.99

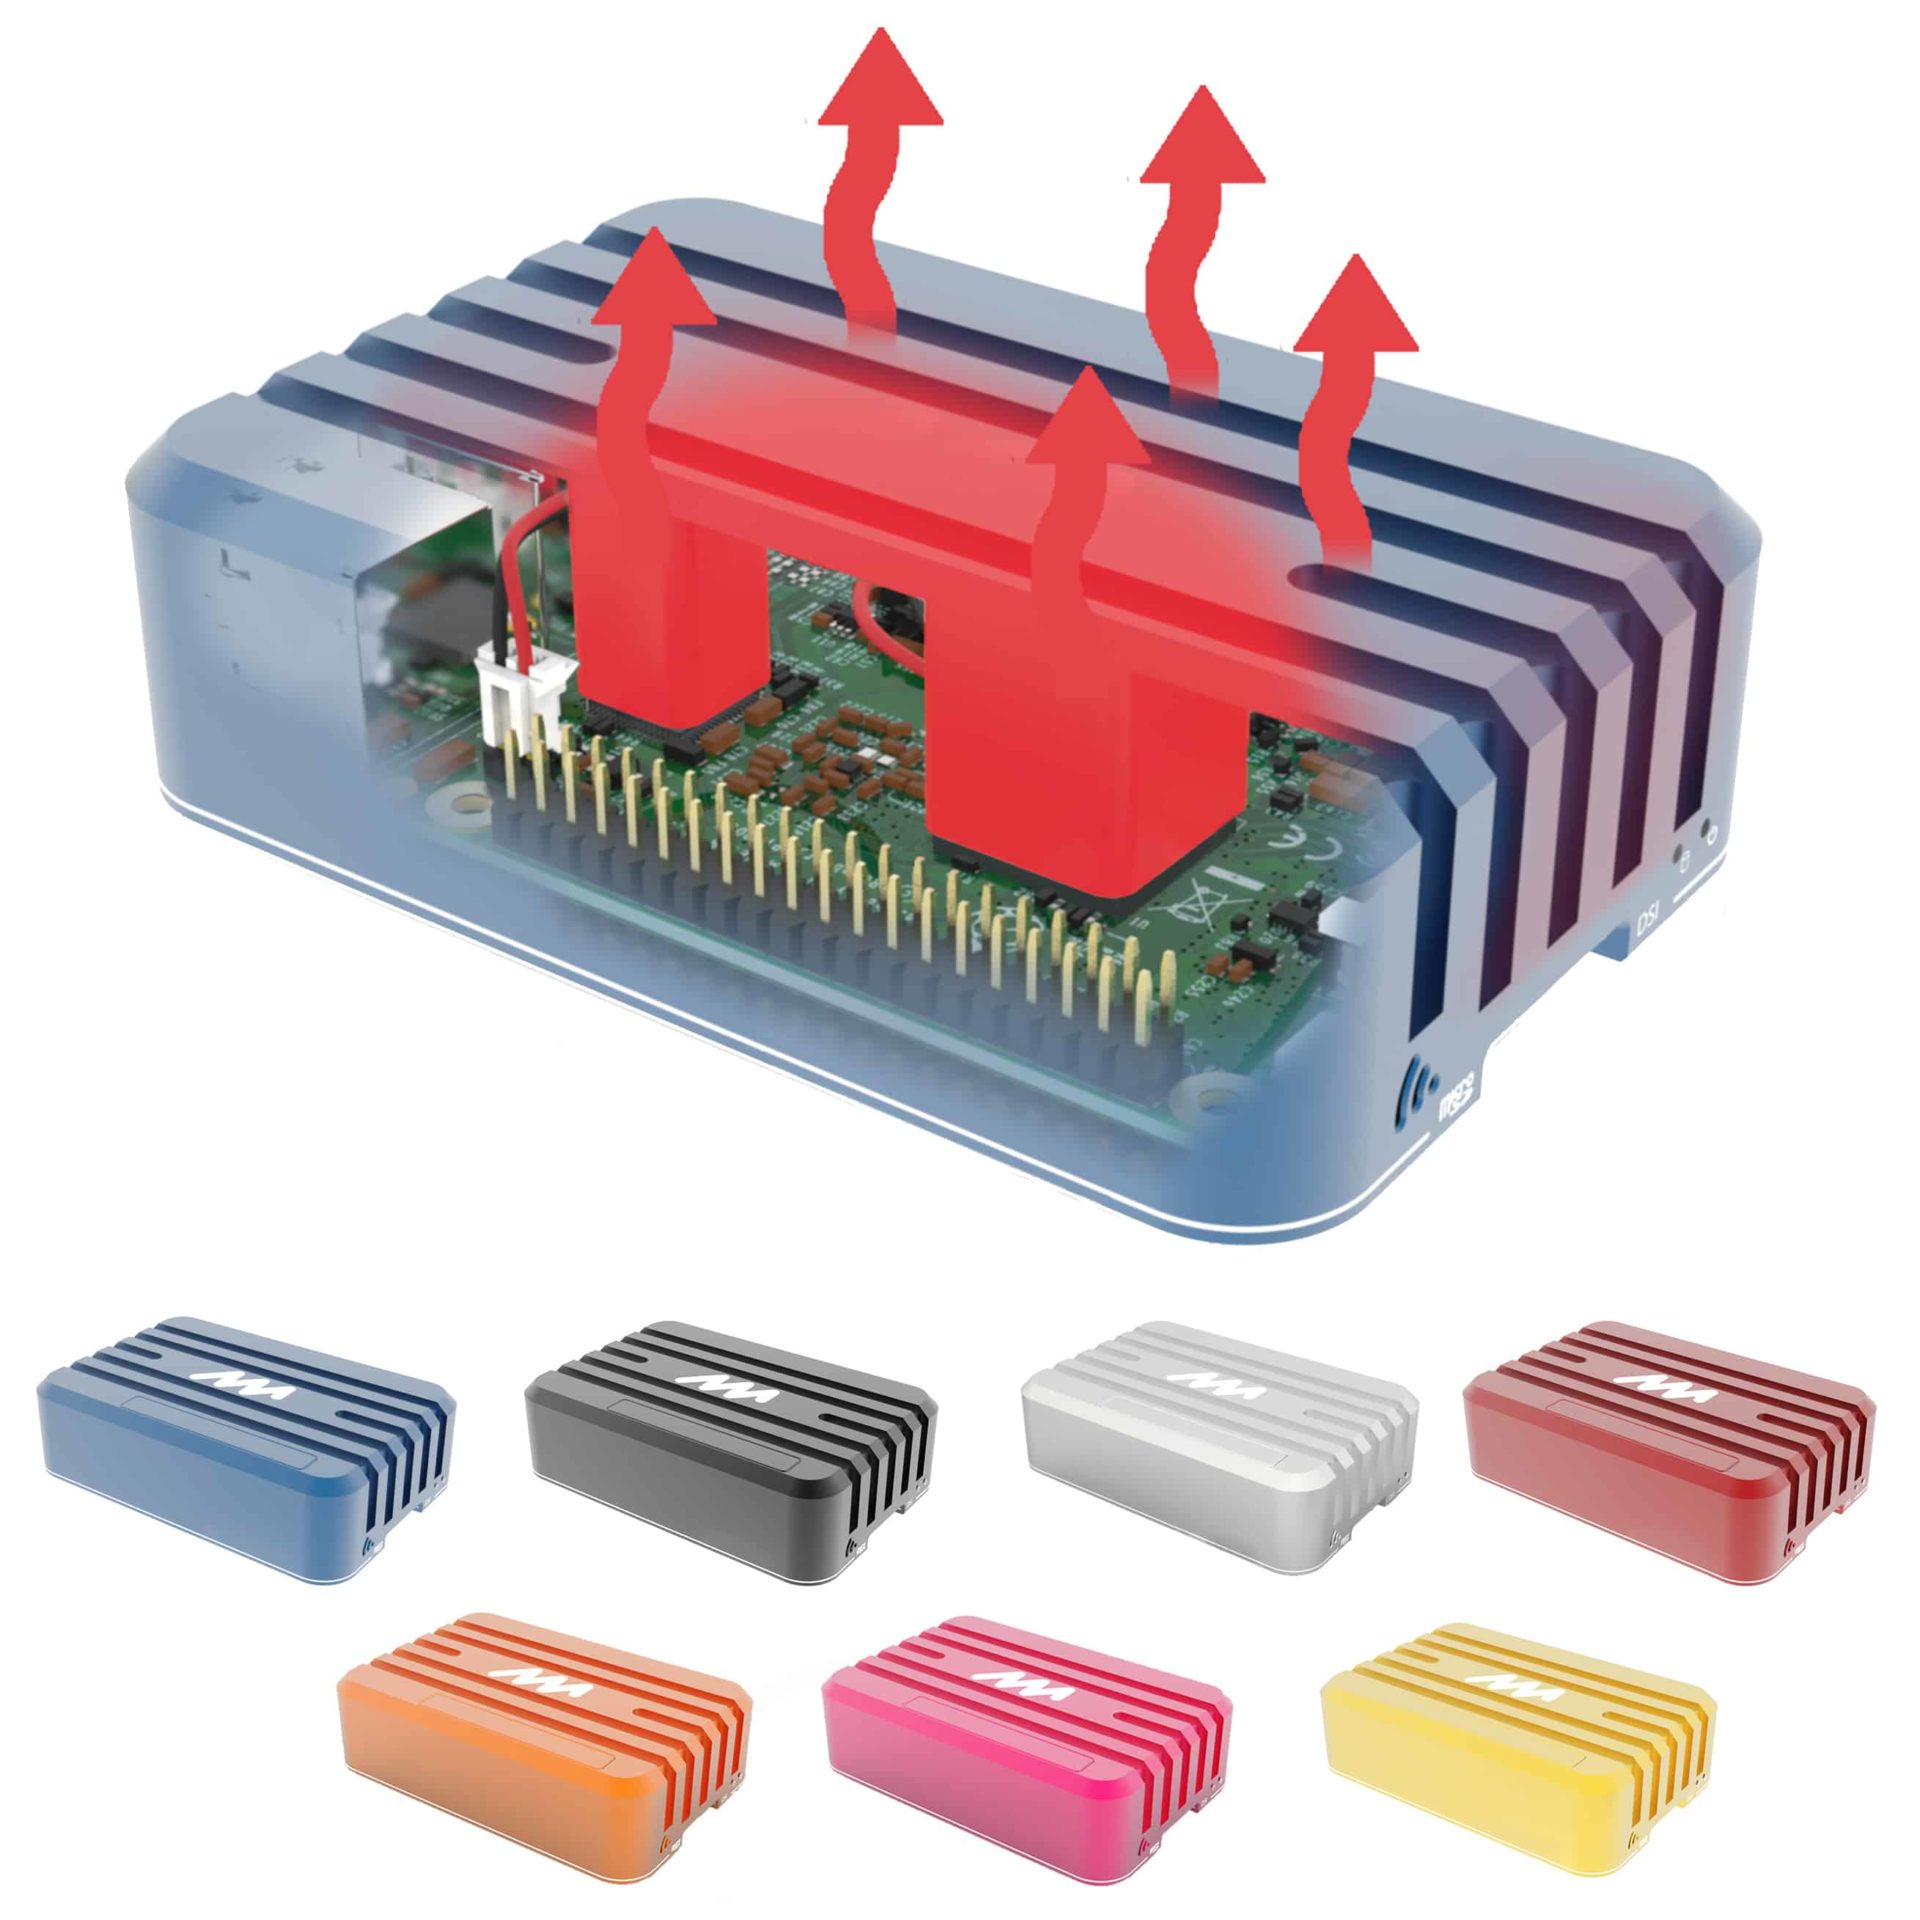
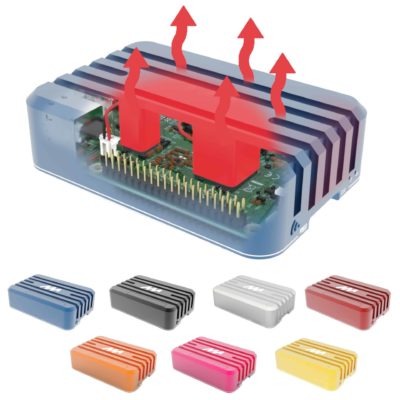
This aluminum Raspberry Pi 3 case acts as a passive heat sink that improves the single board computer performances, and also embed a reset button.

Choose your color and see corresponding pictures:

USD$49.99
Color Gunmetal Grey Ocean Blue Golden Yellow Strong Red Midnight Black Juicy Orange Raspberry Pink
Clear selection

Description

This Aluminum Raspberry Pi 3 Case from Mechatronics Art is a high quality, small form factor aluminum case designed for performance and comfort. The case cools down the Raspberry Pi 3 CPU and USB chip thanks to its aluminum construction and thermal pads. The case is acting as a passive heat sink that improves the single board computer performances.

The Case is equipped with an aluminum reset button and has easy SD card access. It has embedded holes to mount the Raspberry Pi camera on the back. The case also gives complete access to the connectors on the board: a cap on the top of the case can be set opened or closed to give access to the GPIO ports, and it also have specific openings for the CSI and DSI connectors.

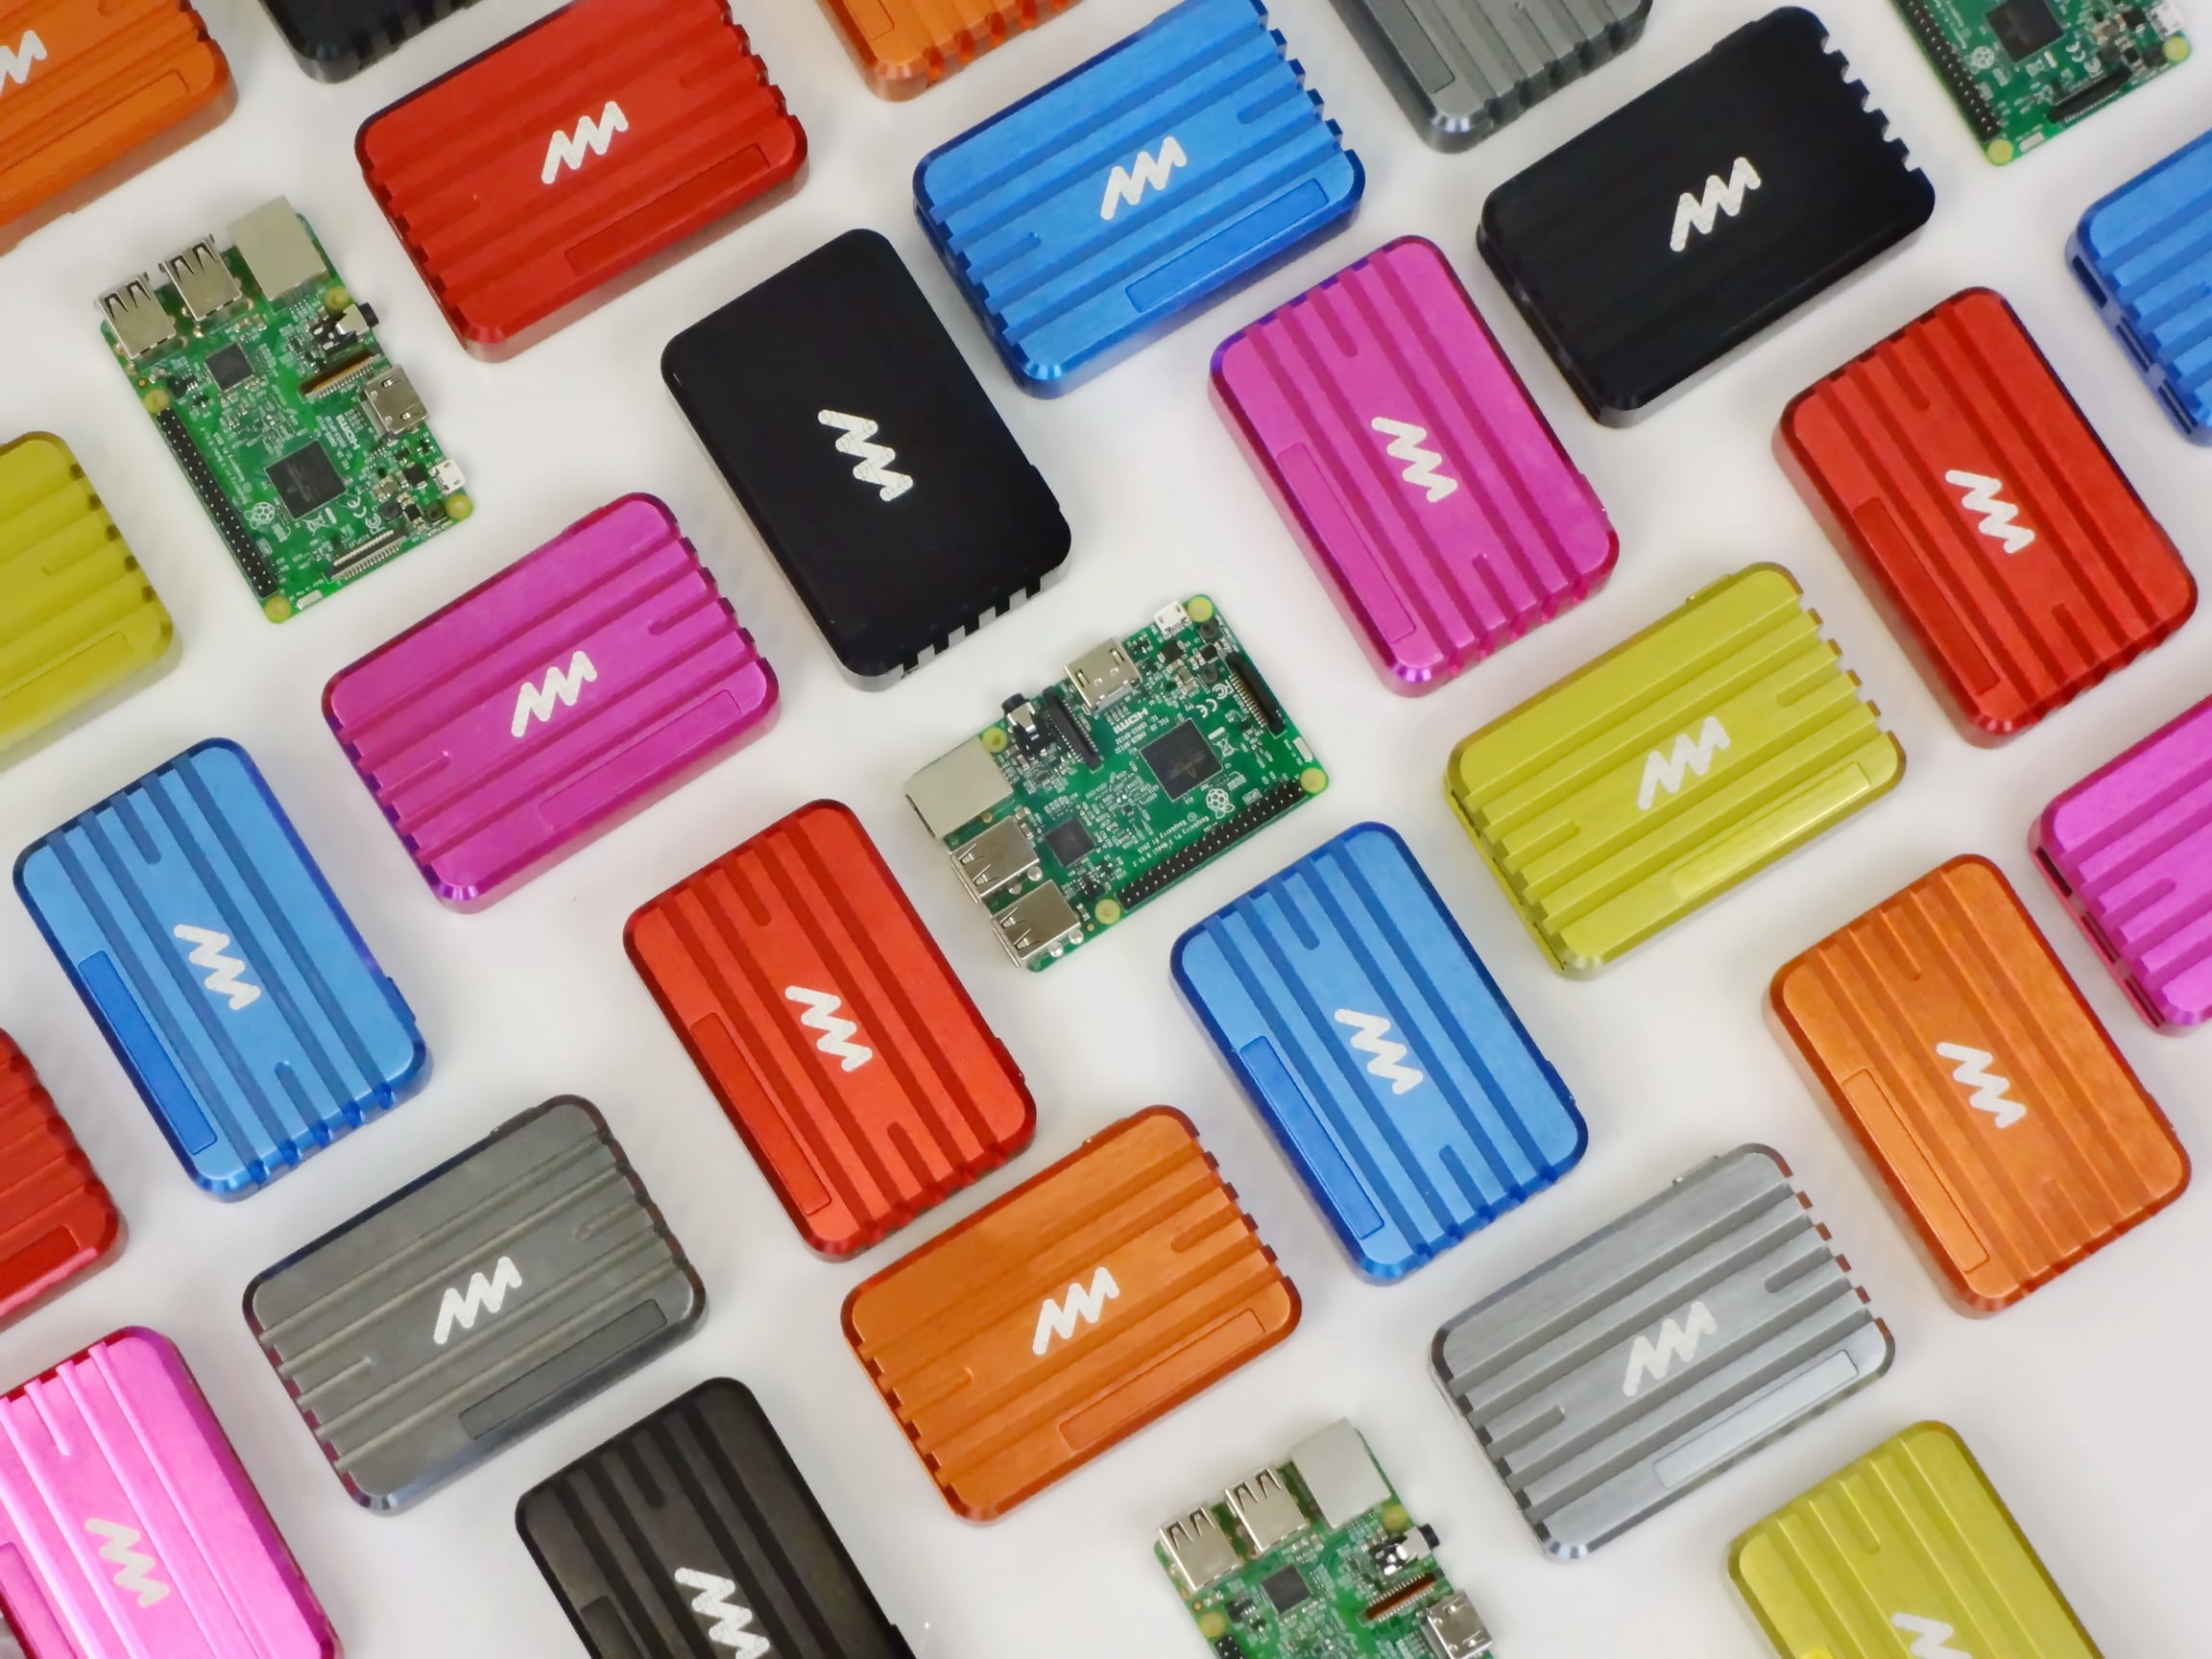
This product comes in various colors: Gunmetal Grey, Ocean Blue, Strong Red, Midnght Black, Raspberry Pink, Juicy Orange. Just pick the one you love best!

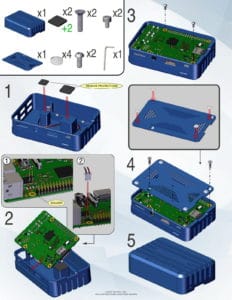
The kit comes with hardware required for installation: thermal pads, bottom rubber pads, installation screws, Hex key, camera mounting screws and assembly guide!

Features

  • Material: High quality aluminum alloy anodized, engraved;
  • Color: according to selected option (Ocean Blue, Strong Red, Midnight Black, Gunmetal Grey, Raspberry Pink, Juicy Orange);
  • Aluminum reset button;
  • GPIO access;
  • DSI and CSI port access;
  • Camera fixation holes.

Part List

  • 1x Aluminum case;
  • 2x Thermal pads + 2 spare thermal pads;
  • 1x Thermal paste syringe (For Raspberry pi 3 B+ CPU);
  • 4x Rubber feet;
  • 4x Screws for case and 2x screws for camera (camera not included);
  • 1x Hex key;
  • 1x Reset button pin header;
  • 1x Assembly guide.

Compatibility

  • Raspberry Pi 3 B+;
  • Raspberry Pi 3 B;
  • Raspberry Pi 2.


Additional information

Weight 240 g
Dimensions 19 × 22.5 × 5 cm
Color

Gunmetal Grey, Ocean Blue, Golden Yellow, Strong Red, Midnight Black, Juicy Orange, Raspberry Pink

Enclosure Dimension

95mm x 63mm x 28mm (3.75in x 2.5in x 1in)

Enclosure Weight

120g

Maximum temperature reduction at Full Rpi 3 load

36C temperature drop. See FAQ for more detailed information and test results.

Assembly

Download Assembly Guide

Download Assembly Guide

FAQ

Is the case compatible with the Raspberry Pi 3 B+?

Yes, the case compatible with the Raspberry Pi 3 B+. The case was originally designed for the Raspberry Pi 3 B, and some differences exists to use with the Raspberry Pi 3B+. The differences are:

  1. Thermal paste (now included with the case) needs to be used for the CPU instead of Thermal pads. We are providing both thermal paste and thermal pads with our cases to account for all use case;
  2. Reset pins cannot be soldered on the Raspberry Pi 3 B+ anymore, and needs to be connected through the GPIOs and configured in the OS. See this tutorial for more details;
  3. The USB Chip is only partially covered by the passively cooled case (to use with the provided thermal pads).

The Raspberry Pi is extremely tight with the case, how can I assemble it properly?

The tight fitting is actually a design decision we took , all overall dimensions are extremely tight fit with the Raspberry Pi 3, and inserting it require to place very well the HDMI connector and the Micro Jack connector, and also pushing firmly on the USB connector

Once the HDMI and Micro Jack connector are aligned into their respective hole in the case, you can start sliding the Pi into the case, just like you did on the picture. The extremity of the USB Port will touch the case, and you will have to firmly push on the USB Connector to make it pass. Once the USB Connector have passed, all the rest will automatically align properly. Do not hesitate to push sufficiently on the USB Port.

I bought your case with the Raspberry Pi installed. How do I use the button?

If you purchase the case with the Raspberry Pi installed, we connect the button to GPIO24 (pin 18) and GND (as seen in this tutorial). You can use this GPIO24 (pin 18) as the button and program the button to do what you want!

Is the case compatible with the Raspberry Pi 2?

Yes, it is compatible with the Raspberry Pi 2. The Activity and Power LEDs of the Raspberry Pi 2 being placed at a different place, the activity and Power LEDs of the Raspberry Pi 2 are visible through the Wifi symbol cuts of the Case.

What are the performances in term of cooling?

We measured Temperatures around 57C measured under full load (SETI@home launched under BOINC) with the Mechatronics Art aluminum enclosure using a Raspberry Pi 3 Model B with an ambient temperature of 33C. Comparison with the same test conditions using two small aluminum heatsinks attached directly onto chips, measured temperature was 83C. Without any cooling system, measured temperature rose above 93C.

Is the bottom plate also aluminum, if so, does it touch and cool the memory chip on the under part of the board? I’ve had times that it did heat up a bit.

The bottom plate is also made with anodized aluminum. It does not touch the bottom of the Pi, and does not cool the memory chips under the Raspberry Pi.

Does your metallic case interfere or decrease the function of the bluetooth or wireless?

The case is electrically isolated from the Raspberry Pi circuit. The case is not grounded and does not prevent any wireless communication with the sock antenna of the Raspberry Pi. We compared the signal strength of one Raspberry Pi 3 with the Mechatronics Art aluminum case, and another Raspberry Pi naked. We measured a loss of power of -4dBm at 30m distance for the Raspberry Pi with aluminum enclosure, which is typically negligible.

Can I use your reset button as a shutdown button?

Yes! You can connect the connector of the reset button directly to some of the GPIOs of the Raspberry Pi, and follow this tutorial to transform the reset button into a shutdown button. By default, we advice to solder the pin header (included) to the reset pins of the Raspberry Pi, which acts as a hard reset by default with any distribution.